Thursday, 31 July 2014

Experimenting With Copper Wire Solder


I recently had a query through my website about copper wire solder asking if I could give any tips on using it. Apparently it is very hard to cut and it wasn't flowing properly when heated. I do a lot of copper soldering and as I've only read about copper paste solder and never actually tried the paste or the wire I thought it would be a good idea to get some and give it a try myself!

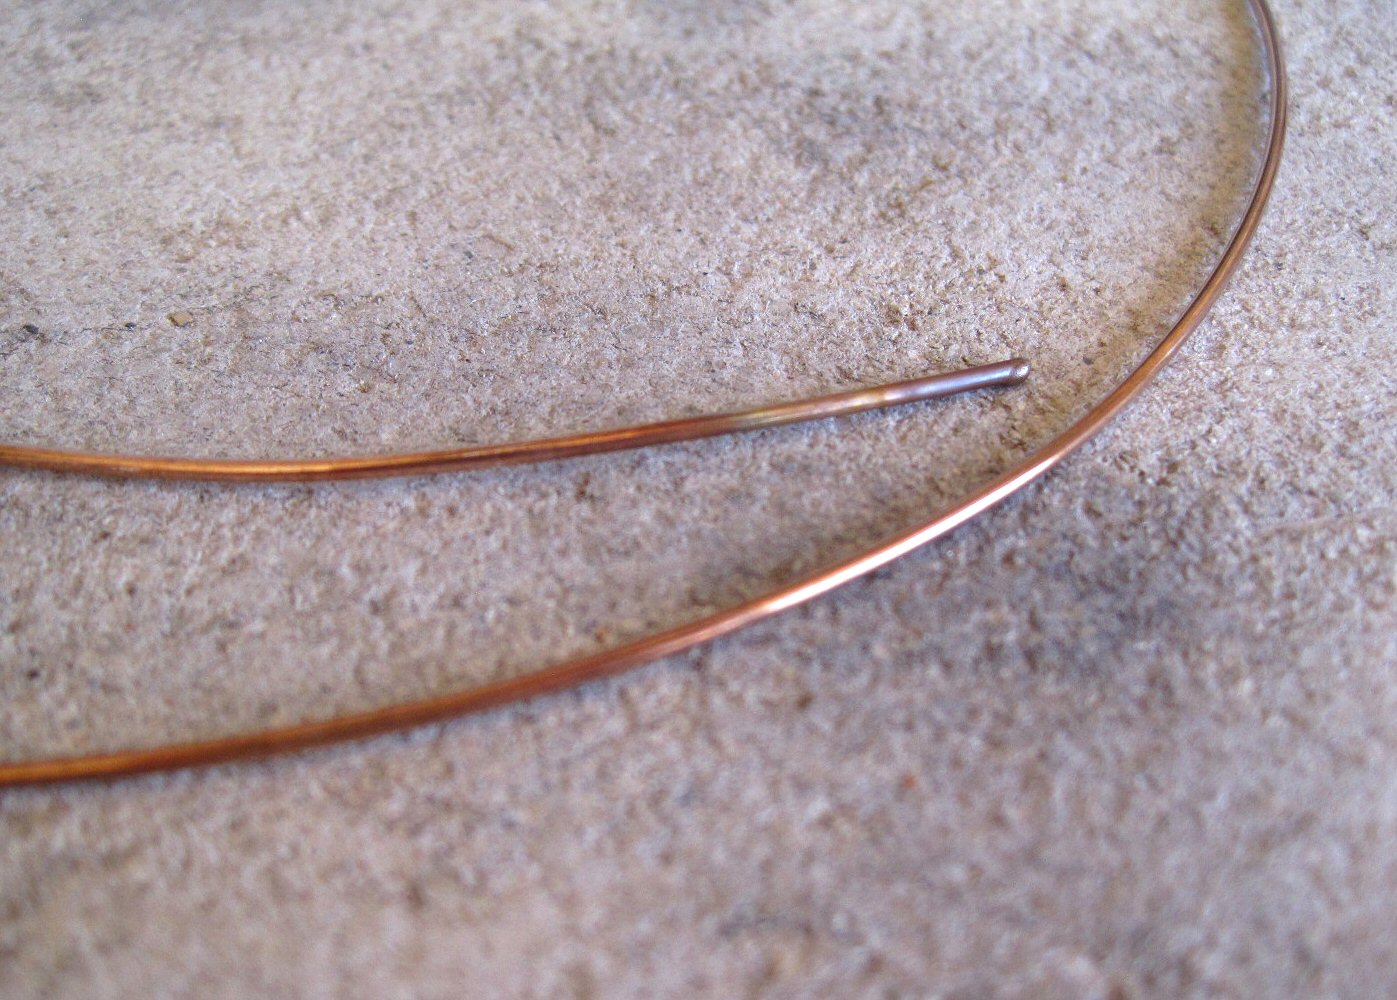
The copper wire solder is available on ebay and Amazon and is fairly inexpensive. I bought 2 ft of 18g {1mm} hard solder for £1.98 plus postage. It looks very much like copper wire as you can see from the photo above but it is very hard to cut. It's recommended that you use memory wire cutters to cut it but I didn't want to fork out £15 at Hobbycraft so I used the DIY store heavy duty metal snips I sometimes use to cut thicker sheet.


I could have done with Hercules himself to help me to be honest but I did manage to cut a couple of small pieces of the wire solder that immediately pinged off on their own little journey into the unknown {landing somewhere in my shed in other words}. I'd recommend cutting the solder wire inside a plastic bag so you can catch the pieces :D

So I decided not to bother cutting the solder wire and soldered a practice bangle of 2mm copper wire by just touching the end of the solder wire to the join when the copper was the right temperature.


I've never soldered this way before so did end up with a bit too much solder on the join but the wire solder flowed easily. Some websites say you don't need to use flux with the copper wire solder but I used it anyway out of habit.


This photo shows the soldered join a bit more clearly. A couple of small balls formed as I was soldering which popped to reveal a lighter colour. You can see one of them on the top to the left side where there is a slightly lighter round area.


This is the join after pickling. The colour of the solder is a pretty good match to the bright copper colour of the wire but you can see the darker spot where the ball of solder popped to the left of the join.

So being me, who doesn't like to see excess solder on joins, I decided to file the join to see "what lies beneath"...


And I was a bit disappointed to see a thin grey line appear as I filed the excess copper solder away. There are two other grey patches on the copper bangle where I haven't cleaned all of the solder off. It's such a shame the copper colour of the solder is just a thin coating on top of a dirty grey colour. It would make me worry that leaving the solder join as it was then hammering a bangle may end up with patches of grey showing through the copper coloured solder in the join area. That's an experiment for another day.

Next I experimented with the copper wire solder and how it took to being oxidized with liver of sulphur.


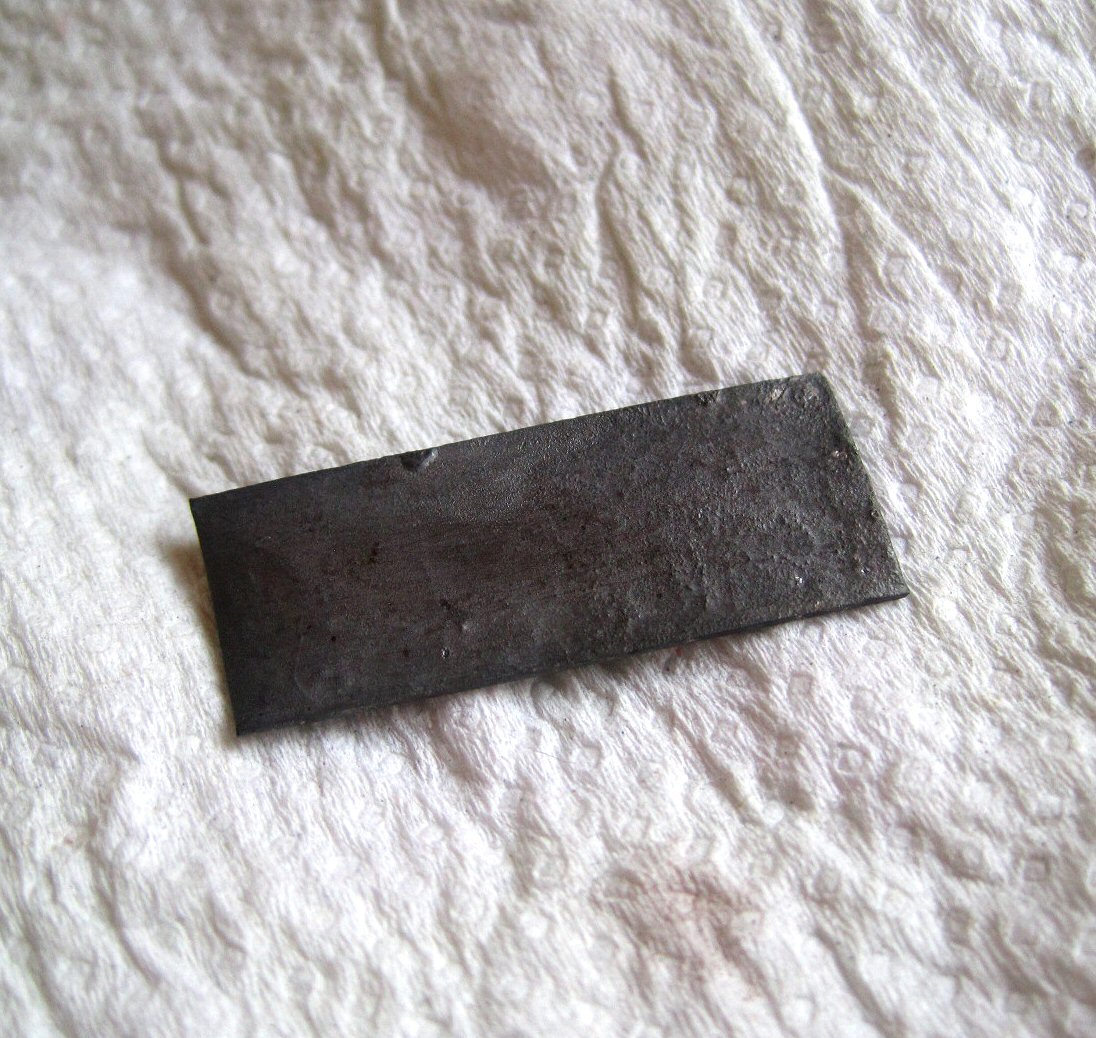
I flowed some of the copper wire solder onto a piece of copper then pickled it.


Pickling shows up some grey areas within the solder which made me wonder if it would oxidize ok.


After dipping in liver of sulphur.
 I washed the copper first with Fairy Liquid and water and as you can see it oxidized evenly.


After cleaning up with steel wool.
 The area of copper covered in the copper wire solder oxidized really well and the colour match with the bare copper after cleaning up is excellent I'd say.

So............will I change to using copper solder?  At this time I don't think so. I'm a neat freak who likes to tidy up solder joins where possible as they can be a bit lumpy and spoil the look of the piece and the neat thin line of silver you get with silver solder looks infinitely better than the neat thin line of dirty grey you get with copper solder on a cleaned up join. I do think it has it's uses though - jump rings for one - as the colour match is very good as long as you don't break the surface of the solder.
I will get round to testing what happens when the solder is hammered and report back soon {ish}.
Til next time......
Wednesday, 23 July 2014

Garden Greenery And New Enamel Earrings


It's a bit of a colour explosion on my blog this week - courtesy of enamels and the wonderful world of plants.

I've been flexing my sawing arm and produced these frame/moroccan style shapes from copper sheet which I then enamelled in a blast of green and turquoise opaque and transparent enamels.


I also cut some {much simpler} drop shapes that I enamelled in a mix of foxglove purple, mauve and bitter green. The last two colours are recent purchases and I love them! 


A couple of days ago I used my phone camera to take some quick snaps of my "garden" which is a really a small back yard {now even smaller thanks to my jewellery shed} which has a few pots in it. The plants are looking nice at the moment so I thought I'd capture them then play around with the photos on Fotor......


Beautiful nasturtium leaves - no flowers {or blackfly} yet but I do love their shape and the pattern of the veins.


Pretty pink geranium flowers


An osteospermum with a beautiful moth taking a rest on it's petals. It looks a bit like I've added the moth afterwards but it really was there.
Here's a close up of the moth...


I think that's enough of the flora and fauna for now, much as I love it. Here's a couple of photos of my cat Tuppence helping herself to some tuna straight from the can. She was too impatient to wait for me to put it in her dish. The photos are a bit blurred as I was laughing and they were taken at night so the light is bad.....


Til next time......

Friday, 18 July 2014

Making A Copper Link Bracelet : It's A Bit Harder Than I Thought!


To make a change from making bangles I decided to make a copper link bracelet recently. Since I've learned to solder I haven't attempted one yet and thought it would be a fairly easy, quick thing to make.
It probably is if you're not me..................


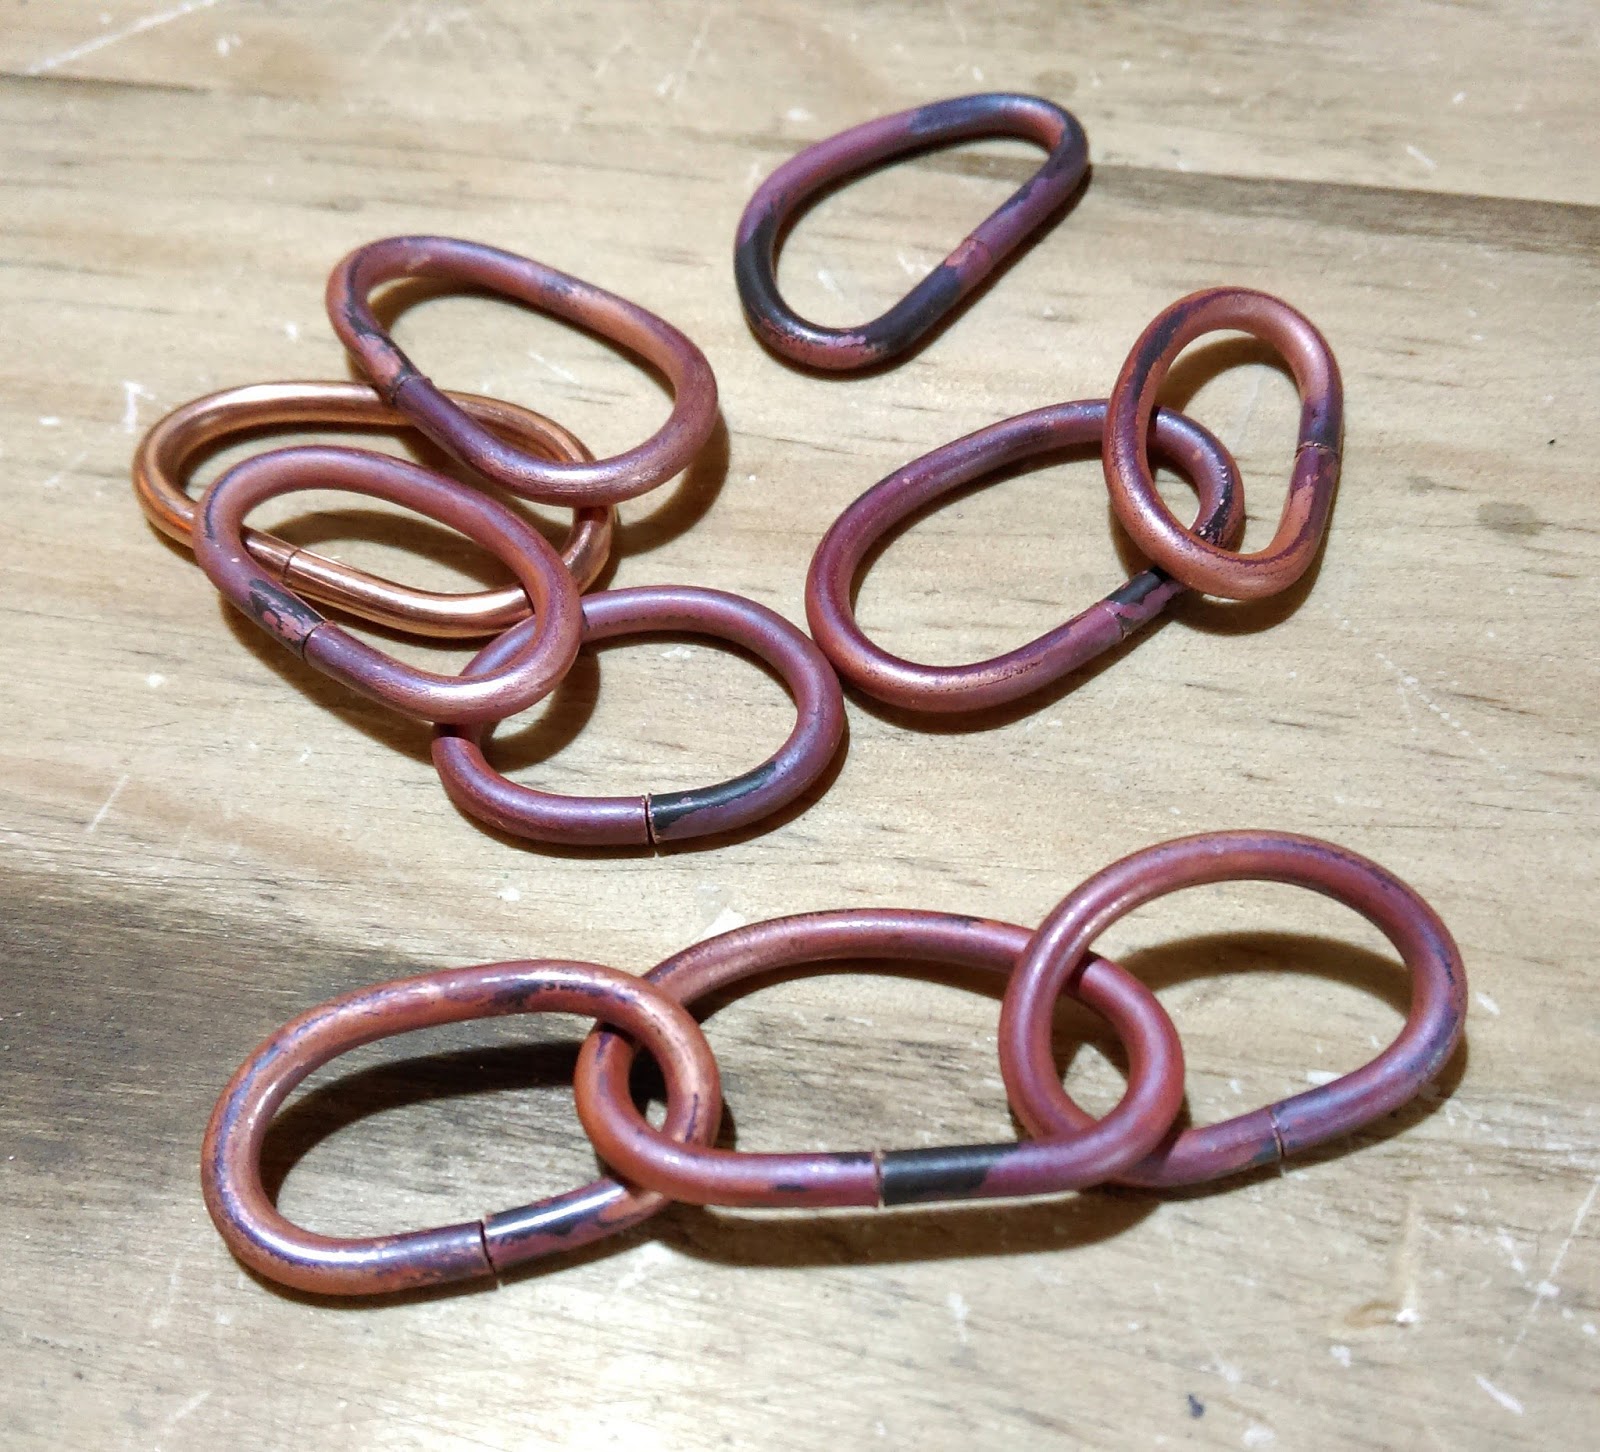
I started with 2.6mm copper wire and cut several lengths in two different sizes. I annealed the wire and bent it to form rough D shapes which makes it easier to join the two ends. My first idea was to solder and shape the links into rounds, texture and finish them then cut half of them open again and resolder to link them all together. Looking at how they lay when they were linked together I then thought the wire was probably too thick for this idea and the links might not sit very well when the bracelet was worn so I now needed to think about how to join the large links together in an interesting way.........

After some time thinking design thoughts {faffing about with copper wire in other words} I came up with a link design featuring a piece of wire balled at both ends which were then hammered and the wire bent over so the hammered ends touched and could be soldered together.


Soldering the small links.
I took this photo holding the torch in one hand and my camera in the other which is why the flame is miles away from the copper link {I can only concentrate on one thing at a time!}
Once all the links were done I hammered them with my mallet to flatten and elongate them and decided that putting two together facing different directions worked quite well and made the bracelet look a bit different.


I stamped a circle design on the ends of the links too and started connecting everything together. I liked the pebble shape of the large copper links so decided to leave them as they were. I then had to think about how the bracelet would fasten. I have a strange love/hate thing with fasteners and have never enjoyed making them despite making my own findings. I decided on a simple bar/toggle style fastener for the bracelet which could fasten with the copper link on the other end of the bracelet. It was simple to make - a length of copper wire with a loop soldered in the middle.


Once the bar was made I also made a small link to attach it to the last copper link on one end of the bracelet. I carried on with the hammered ball theme and made the small link by balling the end of a piece of wire, hammering and stamping then folding the wire into an oval shape and soldering the ends together.


So once everything was a ready I could start to solder the big copper links closed.


 After soldering and pickling and before cleaning up the excess{ive} solder!
 I started cleaning up the solder with a file and emery sticks then quickly changed to the much faster method of using abrasive bullets with my Dremel! The length of the bracelet at this point is about 8.5 inches so I need to shorten it by using my mallet to make the links wider. I also hammered them to flatten slightly and added some hammer texture to parts of the links
Incidently - has anyone noticed the mistake I've made yet? I realized my mistake just as I was about to put the finished oxidized bracelet into my tumbler.
The end link is too big for the bar......................bugger! I had a few options - make another longer bar, change the shape of the end link to make it thinner but this would also make the bracelet too long, or remove the end link and replace it with a smaller one which is what I did. I also had to use my torch to remove the liver of sulphur oxidation and clean up and finish everything again.


So here's the new version with smaller end link and a shiny copper finish again. Just why did I think making a link bracelet would be quick and easy?

Here's the finished oxidized and tumbled bracelet taken on my bench with my phone camera and experimenting with different settings which is why the photos all look slightly different.


I was pleased how it turned out in the end and I've learned what to keep in mind for next time! It was a prototype of sorts so the next one I make will hopefully be a lot easier and faster to make and will probably look a bit different to this one. I will post a couple of "proper" photos of it soon.


Thursday, 3 July 2014

Felt Balls, My Jewellery Shed And More Organizing


Any of you who read my blog regularly will know I moved my jewellery making stuff into a garden shed earlier this year. I'm well and truly settled in now but every so often I'm struck with how I can improve the way my shed is organized. One of the things I'm limited by is the fact it is a garden shed that's been clad so I can't just stick things up on the walls willy nilly. The cladding is attached to battens so if I want to put anything on the wall I have to screw it through the cladding and into a batten. Which obviously stops me putting things anywhere I want. This means I have to find other ways to attach things to the wall sometimes. I bought some magnetic strips on ebay a while ago with the idea of using them to hold some of my small metal tools. They also proved really useful to use with fridge magnets to hold bits of paper {all with very important things written on them of course} within easy reach when I'm working. This idea then made me think I needed some more fridge magnets and a look on ebay and Etsy and being surprised at the price of some of them made me think about making my own.

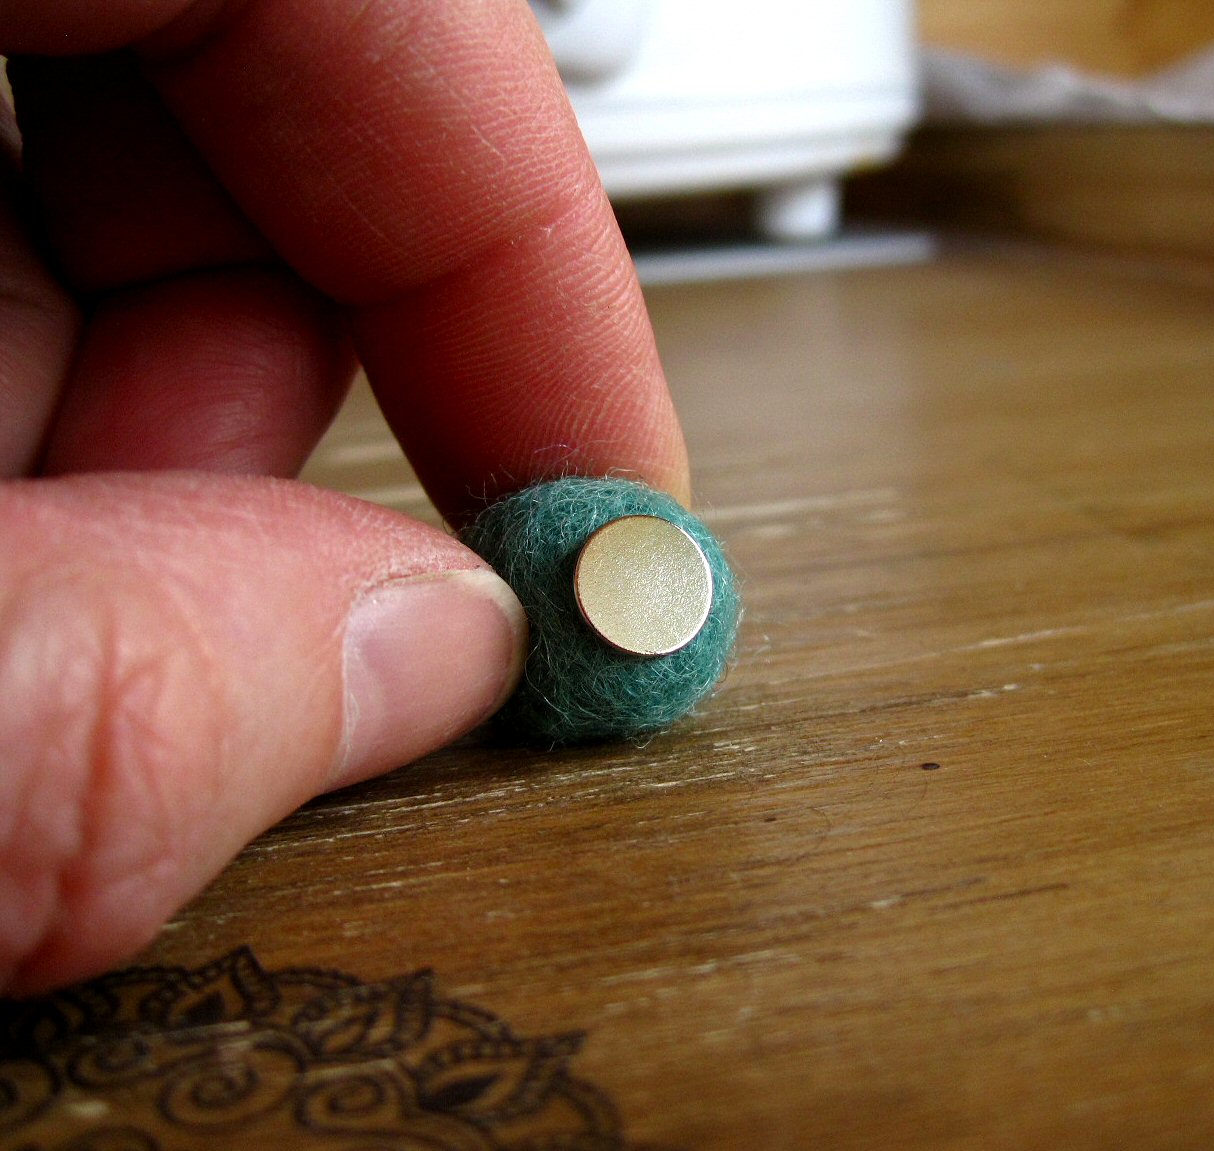
So I bought some disc magnets and combined the magnets with another thing I had a strange urge to possess for no apparent reason....... felt balls. I bought them in different colours and glued the magnets to them to make my own felt ball magnets!


The felt ball magnets that aren't being used live on my cabinet until they are needed. They are very well behaved and don't need much looking after. They do enjoy listening to a bit of the Stone Roses occasionally {quite loudly and from the 2nd album preferably}. They are quite sociable and form their own family groups although their colour coordination skills leave a lot to be desired. The two at the bottom are getting on very well.


Felt balls at work holding my print outs for orders. The magnetic strips have an adhesive strip on one side so I can stick them to the wall. You can just see a bit of the magnetic strip at the top of the paper.


These three {nice colour grouping!} normally hold up a sheet of paper that I scrawl ideas and things to do on.
Thankfully none of my cats have noticed the felt balls yet because I dread to think what would happen when a cat tries to play with felt balls with magnets attached to them.........

My slightly nomadic pliers have now found themselves a permanent home too. The problem wasn't what to put them in or on it was the lack of space available to put whatever the pliers were in or on {hope you're following this....}. They now reside on the plastic pliers holder under my work bench.


They sit in the cardboard drawer that serves to keep my emery papers under control and it works as I know exactly where to reach for when I need them! I got rid of the ledge shelf thing that came with my bench and sat on the runner you can see to the left of the pliers in the photo as it was a bit useless and got in the way of my hammers and things.


My needle files have a permanent home too - good old magnetic strips strike again! The files have made it very clear they are not prepared to share their magnetic strips with any of those weird felt balls though.........

Here's a photo I've taken of me "working" at the bench just to prove I don't spend all my time glueing little magnets to felt balls. I'm going to get round to doing my "About" page for my Etsy shop soon so took a few photos for that today.
There is a little blue felt ball in this photo though. Can you see it?