Showing posts with label stacking bangles. Show all posts

Thursday, 28 August 2014

New Copper Bangles - Flowers, Beads, Twists And Linked Designs!


My recent holiday gave me a chance to come up with a few new copper bangle designs. They are a good seller in my Etsy shop and website so I figure expanding the range makes good sense.
I started by making an intertwined set using 2.6mm round copper wire. It's very simple to link the bangles - it just consists of an extra step once you've soldered, shaped and textured them. Two of the bangles need to be cut open again at the solder join and one of them linked with the remaining soldered bangle and the other bangle linked through the first two before they are soldered closed again and finished. I made the bangles slightly bigger than normal to allow for the space taken up by the bangles being linked. I then had a bit of a brain freeze moment about it all and thought they were still going to be too small but opening them out fully and measuring the inside diameter reassured me they were the right size {does that make sense? I hope so!}


Next I made a set using some lovely etched lampwork glass beads made by Su Bagley of Pixel Pyro Lampwork on Folksy. She made the beads with a larger hole than normal so they would fit on thicker copper wire. I made a set of three bangles with a hammered and line texture with one of the bangles having two of the etched lampwork beads threaded onto it before being soldered closed. 


The beads are in four lovely colours.


Next are two sets of poppy bangles - one with a copper poppy and one with a sterling silver poppy. I enjoyed making these even thought the soldering was a bit tricky to begin with {things moved!} However, now I know to make sure the flower has good contact with the bangle before I start soldering.
The poppy is formed then a balled piece of copper/sterling silver wire is threaded through the centre and the flower wire wrapped onto the bangle. I then added another wrap of wire on the other side. It's all soldered in place and the ends of the wire smoothed for comfortable wearing. 


I am slightly biased but these are my favourite of all the bangles I've made so far

The last new design is a set of three with one bangle with a single twist. Deceptively easy to make by folding the wire into a U shape, flattening the top section of the U with a hammer or rolling mill then annealing and pulling the ends in opposite directions. Then just cut to length and make as normal. 


I think that's enough bangletastic-ness for now!

'Til next time......


Friday, 4 October 2013

Handmade Bangles - A Version In Sterling Silver


I love making bangles and have so far just made them using copper wire. These, much to my surprise, have proved really popular and I must now be the copper bangle making expert of old Eastbourne town!

I had a recent commission for a cuff bangle which was to be a Father of the bride present. The theme of the wedding was amethyst so the customer wanted two small amethyst cabs set at each end of the copper cuff.


I used 1.5mm gauge copper sheet for the cuff which I textured with a hammer, shaped then set the 4mm amethyst cabs. Making the bezels was fiddly as the cabs are so small and I did keep my fingers crossed slightly when soldering the bezels to the bangle but it worked out fine and my customer was pleased. I now have plans to use more of the 1.5mm sheet to make more bangles.

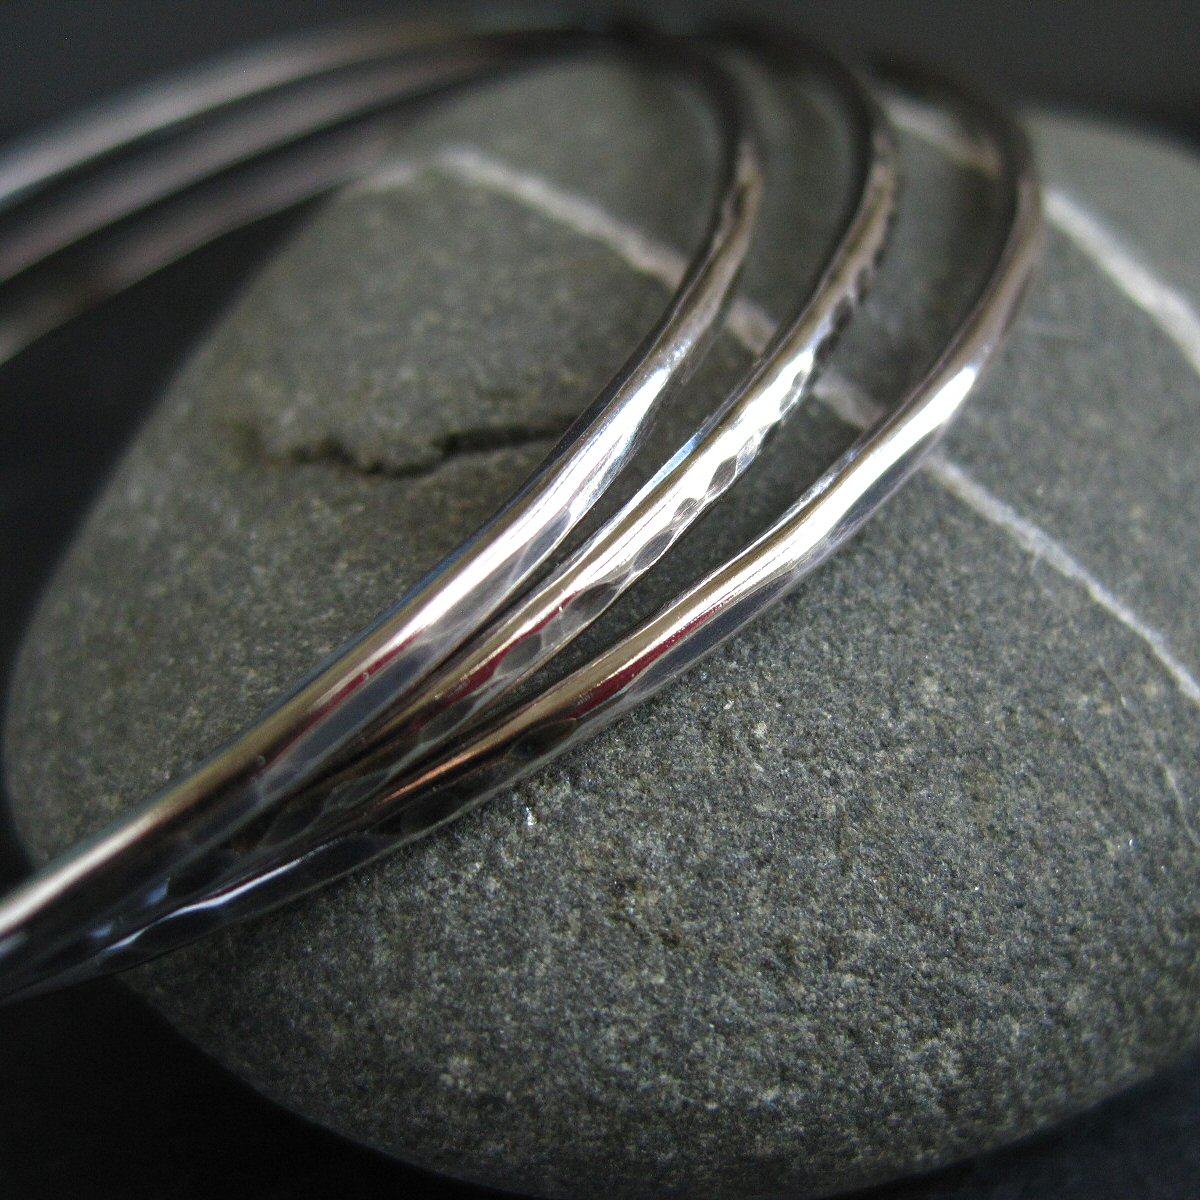
So of course my mind eventually started wandering and thinking about using sterling silver. I have various gauges of silver wire and did think of using 1.6mm but when I tried it with copper the bangle was a bit too easy to bend out of shape even after work hardening and tumbling so I decided to go for 1.8mm which worked much better and forms a nice slim but sturdy bangle.


I think I will try 2mm wire next time as the weight should still come under 7.78g so I wouldn't need to hallmark the bangles. Strangely I found soldering the thinner gauges of wire much harder than the thicker 2.6mm and 3.25mm copper I'm used to using! There isn't much tension in the wire to hold the join together and I ended up holding the two ends together with my pliers to stop them moving as the wire heated up when I was soldering.
The silver bangles make a lovely jingling sound when you wear them and as it's my birthday soon I think I will treat myself with a set :D

Friday, 16 August 2013

Copper Bangles - Noisy But Nice


I made my first copper bangle at college night class a few months ago as I had some thick gauge copper wire and I wasn't sure what to make so thought a bangle sounded like a good idea. Here's my first attempt...


I soldered the coils on at home but before I did that I made a nice lot of noise at college hammering the bangle to give it some texture. Hammering's fine, it's just the noise it makes when you hammer a bangle on a metal bracelet mandrel! I didn't make anymore at college as I thought the hammering noise was probably annoying the others in the class......

I did carry on making more at home though once I'd got my own bracelet mandrel. The ringing noise created by the hammering on the mandrel really grates, drives my cats a bit mad and I'm still waiting for my neighbour to ask if I'm running some sort of foundry or something. I tried putting a sock over the mandrel with the bangle on top of the sock but it didn't make any difference and I just ended up with a sock with quite a few interesting holes. I shall persevere though and maybe wear earplugs as the bangles are proving popular.

My latest bangles are decorated with soldered shapes - leaves and ovals that I made from some textured and etched copper sheet.


They were fun to make once I figured the best way to solder the two shapes onto them. I've since bought some steel binding wire which I hope will make life easier the next time I make them. Getting everything in position and keeping it there when I was soldering them had me slightly frustrated shall we say! My third hand isn't the sturdiest and kept moving when I needed it to stay in position and hold the bangle vertically on top of the leaf/oval shapes. Hopefully using the binding wire will mean I can solder the two (maybe three?) shapes on at the same time instead of having to do them one at a time.


I'm planning on adding sterling silver shapes to the next lot of bangles I make. I checked with the London assay office and cleared up a subject I was confused about recently. I had been lead to believe by another jewellery maker a few years ago that any amount of sterling/fine silver on a mixed metal piece that weighed over 7.78g in total would mean the piece needed to be hallmarked. I did wonder about this as sometimes the amount of silver may be so small it would be impossible to hallmark it. I checked and the answer came back that on mixed metal pieces if the silver content is over 7.78g then it would need to be hallmarked, if the silver content is under 7.78g it doesn't. Which makes perfect sense and makes my life a lot easier.
So mixed metal bangles here I come! Soon.

Tuesday, 21 May 2013

Handmade Copper Bangles


Not usually something that crosses my radar being a committed earring freak, strangely I had a sudden urge a couple of weeks ago to make some bangles. I made the first one at night school as I needed something to do in the last couple of weeks that wouldn't take too long. I enjoyed making it - it was a hammered round bangle made from 2.6mm copper wire which I soldered three coils of thinner wire to.


 I soon discovered that soldering the coils onto it meant I couldn't reshape it. I used paste solder for the coils as I thought it would be easier but two attempts and some burnt blobby messes later I went back to sheet solder which worked. In the meantime the bracelet had been bent out of shape slightly plus it needed a good hammering to work harden it as it was a little "bendy" having been well annealed with my soldering attempts!
So having learned what not to do - I never got on with paste solder so why I used it I don't know! - I bought a bracelet mandrel and made a few more -


They are made from 2.6mm and 3.25mm copper wire and are textured with a hammer and stamped designs. Really fun and easy to make.


The twisted wire bangles were a bit more work. I rolled the wire through the rolling mill at college then twisted the flattened wire using a vice and big pair of pliers. Matching the join and soldering was a challenge - I discovered that wedging the solder in the join was the best bet as it had a habit of sliding round the twist as I started to heat up the wire. Thinking about it now pick soldering the join probably would've been a better option and even easier!