Showing posts with label handmade enamel jewellery. Show all posts

Thursday, 2 October 2014

Torch Enamelling - Experimenting With Sgraffito


To continue my current tiny obsession with torch enamelling and decorative things you can do with your enamelled jewellery, I thought I'd experiment with sgraffito. The word sgraffito means "scratched" in Italian and according the the Encyclopedia Britannica is "a technique used in painting, pottery and glass which consists of putting down a preliminary surface, covering it with another, then scratching the superficial layer in such a way that the pattern or shape that emerges is of the lower colour"

A friend sent me a copy of a bracelet tutorial {thanks Debs!} by Angela Gerhard who creates the most beautiful enamel jewellery decorated using sgraffito. I'd love to post a couple of photos of it here but I remember doing an enamel treasury on Etsy a while ago and seeing a little note on her shop page about her photos being copyrighted so I will respect that - although if you Google her you'll see lots of her jewellery photos everywhere!

I decided to have a go at sgraffito this week. I cut several pieces of 24g/0.5mm copper to practice on. Some of them are bigger pieces than I normally use but I wanted a bit of space to play. I counter enamelled them then enamelled the front - two in black, two in purple and three in cream.

In the Angela Gerhard tutorial the next step is to apply a layer of liquid enamel but as I don't have any yet I used Klyre Fire which I applied liberally with a brush.


I hope you can tear your eyes away from the ripped out magazine page featuring a step-by-step wirework necklace project I used to sift onto. I don't think I could have picked a brighter, more distracting background for this photo if I tried... 
The next step in the tutorial was to sift a layer of powder enamel on top of the liquid enamel. I sifted a layer of enamel onto the Klyre Fire and pressed it down gently with my finger.


I then used a variety of tools - an engineer's scribe, a fine brush and rubber tipped "things" I acquired a while ago to create the lines. The layer of enamel on this piece was too thick which results in a lot of the enamel powder piling up at the sides of the lines {a bit like snow when a snow plough has been through}. You then need to remove these little piles of enamel by using a bulb syringe {as in the tutorial} to gently blow them away or you can use a dampened brush. Otherwise they create thicker areas of enamel that take longer to fire.


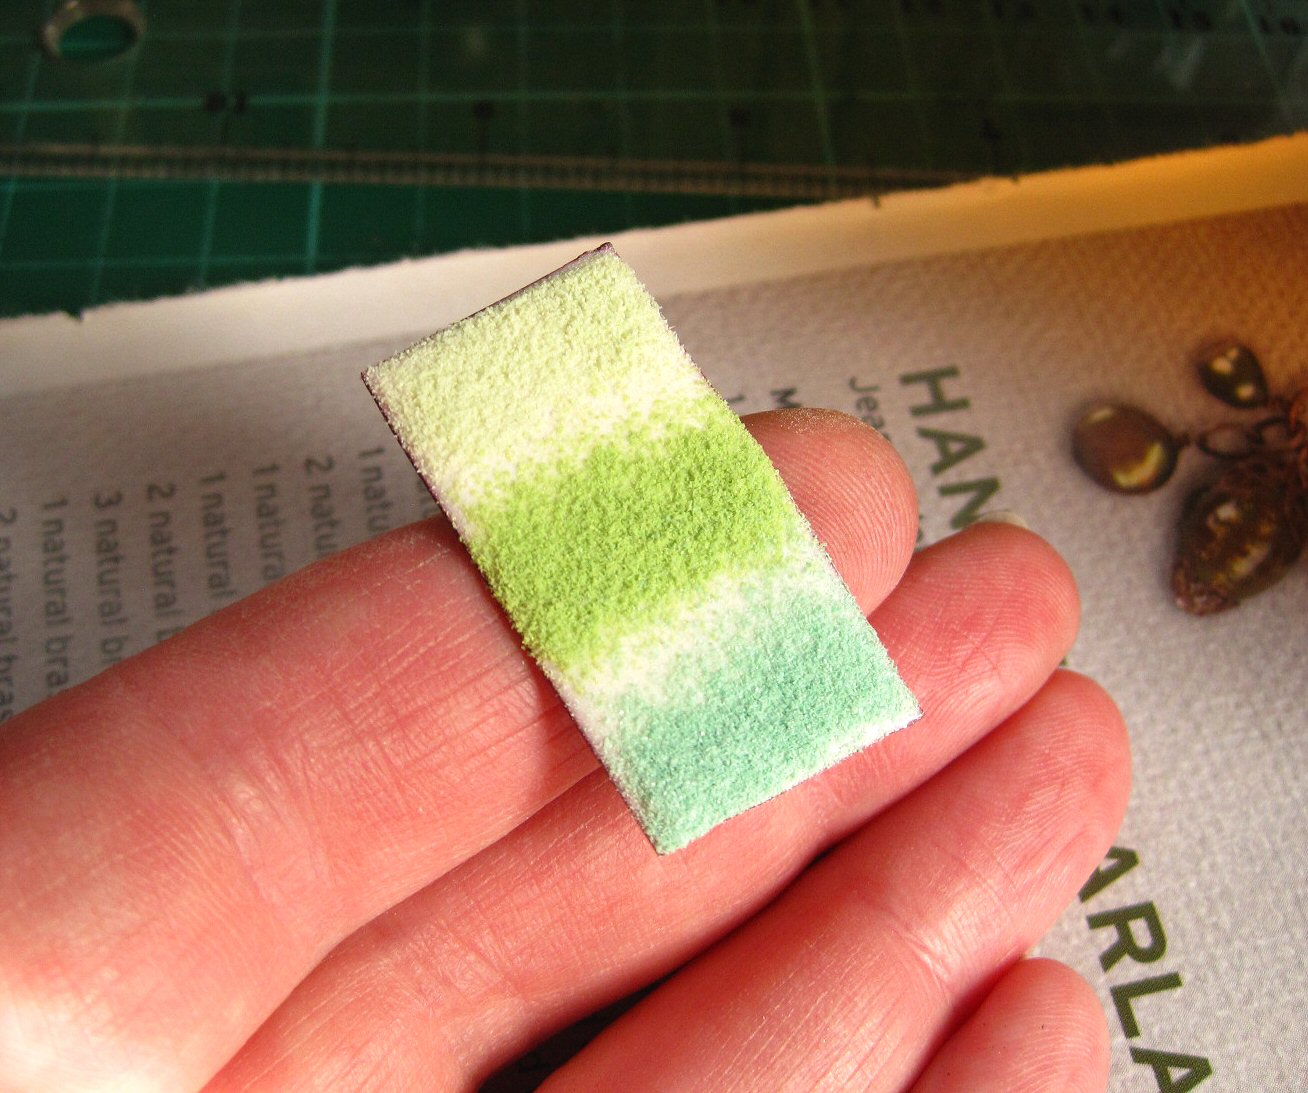
I had another go using a cream base and a thinner layer of three greens. I left a gap between the different greens too then used a small brush to create the lines. It definitely helps to have a pot of water handy to clean the brush and a piece of kitchen towel to blot the brush on to keep it clean between doing each line. The damp brush picks up the particles of enamel too giving you a neater finish to the lines if that's the look you're aiming for.


I fired each piece then lined them up on my shed windowsill to photograph {top photo}. I then decided to etch them as I love the matt finish it gives. Here are the results...


 What I've learned....

1.The first is I need to apply two layers of counter enamel if I want to make larger pieces. The counter enamel on a couple of the pieces took a bit of a battering but that could be due to the enamel on the front being too thick and taking longer than normal to fully fire.

2. A thinner top layer of powder enamel is better for achieving thinner lines.

3. I found drawing straight lines was easier with a brush than anything else.

4. I need a finer brush! The {cheap} brushes I buy seem to swell a bit when they get wet which doesn't make it easy to achieve neat lines. 

5. Although I like bright colours I'm drawn more to the cream background than the black. I'm also trying hard to ignore the purple and green colour combo I created, it's hideous!

6. I need to let go of my inner neat-freak and just go with it. I learned that the more precise you try to be with some enamelling techniques the worse the end result looks.

7.The matt look is very cool. Very.

8. I need to practice more.
 A lot more


Thursday, 18 September 2014

Enamel Decal Experiments..........And Mistakes


I've been playing again! I posted recently about trying some of the enamel decals I ordered a while ago and being a bit unimpressed with the results. Well I tried again and ordered some more decals, this time just in simple black designs rather than designs in colours. Previously the coloured decals I tried were a bit of a disappointment due to the colours losing their brightness during printing and fading after firing.

I uploaded my designs in PDF format to Fotoceramic and they then worked out the cost and sent me a PayPal invoice. I received the decals two days after payment which is pretty good service. Here's one sheet of the decals I ordered...


I ordered 6 of each design so I now have nearly 450 decals {Carried away? Me? Never!}  The total cost was £35.05 so they work out at about 8p each. You can create your own designs, use text {which is a great idea} or purchase digital graphics that allow commercial use.

So after counter enamelling and firing two layers on the front of my earrings it was time to choose the designs. I then trimmed the decals as close to the design as possible.


I soaked them in a bowl of water until the backing paper came away and using tweezers placed them on my earrings.


The decal slides around quite a lot until you blot it with kitchen roll so you can reposition it quite easily. You then blot it carefully pressing from the centre outwards to remove as much water as possible and leave it to dry.
There are various ways to dry the decals - if you are using a kiln to fire the enamel you can place the pieces on top of the kiln to take advantage of the heat, leave them somewhere warm such as a sunny windowsill or you can do what I do and warm up a soldering block using my torch then set the enamel pieces on top. I leave them for about 15 minutes and reheat the soldering block a couple of times.


 There's no sure way to know if the decals are dry as they don't change colour but 15 minutes in a warm place works ok for me. There's no point rushing this part {even though we all want to!} as the decals will bubble and be ruined if you fire them before all the water has evaporated.

Once the decals are dry I put the enamel piece onto the trivet and heat slowly keeping the torch a fair distance away until I'm sure the decal really is dry and isn't going to bubble. Then I move the torch closer and fire as normal. The decal smokes a bit then turns white as the enamel heats up.


The white colour then becomes transparent as the top varnish layer of the decal burns away leaving the enamel design.


After reading up on it I understood that I needed to fire the piece until the decal became completely smooth but as you can see in this photo the result was a design that was starting to break up and this decal still wasn't completely smooth. The decals can also sink into the enamel if they are fired for too long.
To stop this happening I decided to fire for slightly less time and to add a top coat of transparent enamel to cover the decal and give the earrings a nice smooth finish.


This is the orange pair with a layer of transparent geranium pink on top of the decal about to be fired.


So, the orange pair in the photo above were fired and the transparent just didn't look very pink. It had altered the orange base colour slightly but I wanted pink! So I added another layer of transparent in red this time and fired it again. Bear in mind this was the 5th firing....


Mistake #1
The shape of these earrings is much too long and thin meaning the trivets I use didn't support them properly. They were hard to balance on the trivets too and did tip up a couple of times depositing the enamel powder everywhere {cue swearing}. The difference in thickness of the top layers of enamel and the much thinner counter enamel layer resulted in a warped piece of copper.

Mistake#2
Too may layers of enamel. You can see in the photo the difference in thickness at the top and bottom of the earring.

Mistake #3
Dropping one of the orange earrings on the floor just after firing. And like a piece of buttered toast it landed front side down. On carpet. Yes my shed has carpet. Surprisingly the bits of melted carpet did come off very easily. But it didn't help.

So a few days later the earrings decided they'd had enough of all this stress and this is the result......


Notice this didn't happen until a few days later. The other earring is also cracked but obviously isn't such a drama queen as it's mate and decided to keep hold of it's red/pink/too thick/carpet textured shiny enamel coat.

Here's the rest of the decal experiments I'm glad to say worked :D 
The finished versions can be seen in the top photo collage.


The green pair with the flower decal are my favourites. I mixed up a new green mix using three different green opaques and now want to enamel everything with it!

Only 400 and odd decals to use up now so no doubt there will be more...... but not all in green.


Thursday, 16 January 2014

Combining Soldering And Enamel


The need to make cute, brightly coloured enamel studs propelled me into the world of combining soldering with enamel a couple of years ago. I knew from reading up on it that it was possible to enamel and solder on the same piece but wasn't too confident I was able to do it back then.

It was a slightly embarrassing occurance that made me just get on with - I'd made some enamel studs with glued on stud posts. I'd used 2 part epoxy resin which was a job in itself as it set hard after 5 minutes so I had to keep mixing more up. The finished studs looked ok but that little voice in my head kept asking "are you sure you want to use glue?" I wasn't but didn't think I had any other way to do it so I used glue. I sold my first pair and merrily sent them on their way to Canada. A couple of week later the buyer got in touch to say the stud post had come off one of the earrings and the other was hanging off. I was mortified, apologized profusely and refunded her money immediately. Luckily she was understanding about it but I felt awful! I hadn't packed the studs well enough in the first place to withstand a trip to New Brunswick but it was the glue spectre that was haunting me the most.

I decided then I had to teach myself to solder posts onto stud earrings and to learn to combine soldering and enamel. My first attempts weren't great and involved the melting of a few stud posts, lots of sweating due to concentrating so hard and some swearing. I tried enamelling just one side of a disc and then soldering the post on last but that didn't work for me, I just ruined the enamel with the heat from the torch. I almost gave up on it but I hate to admit defeat and I got there eventually using enamel solder also called IT solder. Enamel solder flows at a higher temperature than enamel (and hard solder) so it can be used before enamelling and won't reflow when the enamel is fired.

I have used it to torch fire small enamel stud earrings with great success. The two fears I had before I did it the first time - will the solder react with the enamel (or vice versa) and mess it up and will I melt the sterling post when I'm firing the front of the earrings didn't happen and I've gone on to make several pairs to date. The latest were three pairs of enamel heart studs I made last week.


I took photos as I was soldering and enamelling the heart studs which I hope might be useful!


1. First I flowed some enamel solder onto the pad of the stud fitting. I prefer to use these as my hand isn't steady enough to hold a post and solder it in place and the pads mean you can sit the fitting onto the back of the earring and it will stay put as you solder. I made holes in my solder block for the pad and post to sit in to keep them level.
2. Copper hearts just out of the pickle ready for soldering.


3.The first four soldered together
4. In the pickle to clean (dirty pickle!)


5. Counter enamel sifted onto the back of one of the studs and placed on the trivet ready for torch firing. You can see the trivet is sat precariously near the edge of my soldering block (which is sat on top of an empty tin can) so that I could get the torch under it. I've since bought a tripod and wire mesh to sit the trivet on which will make it much easier to get right underneath with the torch.
6. The counter enamel finished on all six earrings. I fired it to roughly orange peel stage as it will be in direct contact with the flame when the front is fired and will smooth out nicely then.


7. Enamel sifted onto the front. I always balance/hold the copper piece in my fingers when I sift the enamel as I find it easier but flat pieces can be set onto bottle tops if preferred.
8. Not the best photo but hopefully you can see the stud set onto the trivet with the post sitting in the gap at the centre. The small gap where the three legs meet is very handy for this and helps protect the silver post from the heat of the torch. I place it there by gripping the top of the post with tweezers right underneath the earring and carefully setting it in the centre of the trivet so the post fits in the gap. 


9. The first two pairs after the first coat, just to orange peel stage again. I make sure to keep the torch moving in small circles to avoid concentrating the heat in one spot for too long.
10. Another layer and a sprinkle of transparent on top and they are finished! Some people enamel just the front and solder a post to the back with easy solder to finish. It seems to work for them but I found it either ruined the enamel or the enamel cracked so I prefer to do it the hard (right?!) way!


Tuesday, 29 October 2013

A Splash Of Colour And Some Twirly Studs


I've been playing with my enamel colours again and creating my own "blends". It's fun sitting at the table with my different colours and mixing them up to make new ones. Enamels don't really mix to make new colours but you can achieve some really pretty speckly effects. Using the same colour groups work better than mixing colours opposite each other on the colour wheel. I found this out when I mixed some purple and lavender enamels with a bright green hoping I'd get a nice purple/green mix but it just looked grey when it was fired. If you looked closely you could see the individual colours but the overall effect was dull but luckily the beauty of enamelling is you can fix it with another layer (within reason!) What I have learned with mixing colours is if it looks dull in the pot it will still look dull when it's fired........... :D

The hoops above are enamelled in a mix of different greens with some transparent turquoise layered on top on the bottom section.


These were originally a really dull orangey-grey (one of my not so great mixes) so I revived them with some more opaque and transparent oranges and a sprinkling of cream and lighter orange on top. They make me think of marmalade.


This pair were victims of the purple/lavender/green horror mix so I brightened them up with more green opaques and a budgerigar green transparent. I love the effect sprinkling opaque enamel on top of transparent gives you, it reminds me of lichen.

I finished off a few simple stud earrings in copper and silver this week too. I used thin strips of metal and coiled them with round nose pliers like you would make a spiral to form cute twirls. I soldered the ends then after sanding one side flat I soldered them to a base, tidied them up then added posts and oxidized them.


The copper pair remind me of chelsea buns!

Wednesday, 10 July 2013

Summer Colour - Enamel Flower Earrings and Pendants


After a few weeks of concentrating on metalwork making hollow form pendants and earrings I needed a burst of colour so out came the enamel powders and some pretty pre-cut copper flower blanks. Yes I could saw out the flowers myself but I didn't :D
I felt like mixing up the colours a bit by sifting a mixture of opaque enamels together and firing at the same time. Previously I would only do one colour and fire it then add another colour, fire, then another colour but mixing the second layer of enamel colours saves time and doesn't do any harm. Mixing two different enamel powders won't result in a new colour as such, eg. mixing red and yellow won't produce orange but a speckled blend of red and yellow. Mixing similar shades is good as the different coloured speckles aren't as obvious so the end colour looks more solid. It gives you more options.

The earrings above are a base layer of seafoam then another layer of seafoam mixed with lichen and pea which produced a lovely sea green shade with sprinkles of brown and cream added on top.


I made a pendant with the same colours but this time I mixed the seafoam, lichen amd pea enamels and put them in a pot. The resulting colour was slightly different to the earrings but that's the fun of mixing your own blends - you don't know how they will turn out until you fire them the first time. You can then add another colour in the second layer to change the overall look if you want to. As I'm writing this I've had a sudden urge to try to achieve an ombre effect with similar shades of enamel. I think applying the enamels wet with a brush will be the way to go. This idea obviously need some thought.........


These bright young things, currently on their way to Oregon, are a mixture of sunset orange with sprinklings of scarlet, pink and brown. The pink completely disappeared in the orange and the brown is very subtle too (in other words you can hardly see it!)


I was asked to make the pendant for a custom order which means I'm now out of the cute flower blanks. I did create a few templates just in case I had a sudden rush of blood to the head and felt like sawing out my own flowers which I may do as I now do enjoy sawing which is something I never thought I would say, or I might just buy a few more which would be much easier if a bit more expensive!


I wanted to use up some sterling beads and spacers I've had for ever so combined them with some more mixed colour enamel discs and "lily pads". It's nice to do a bit of wirework every now and then!