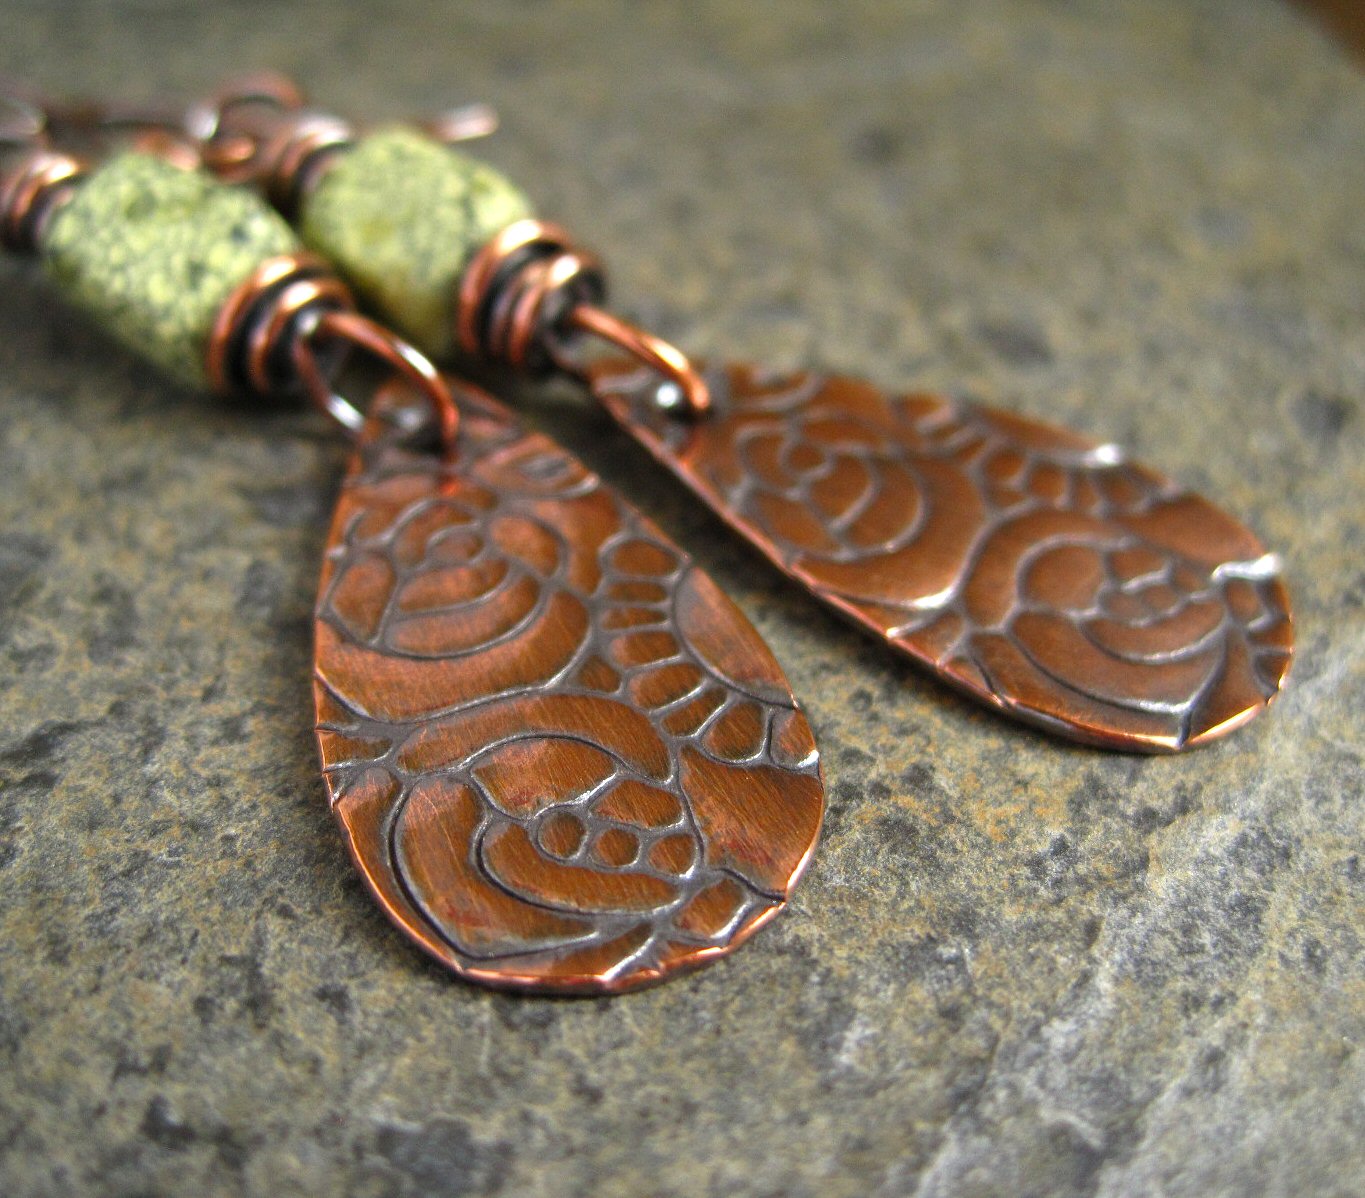
Showing posts with label copper earrings. Show all posts

Friday, 7 November 2014

Experimenting With Ice Resin


Or should I say more experimenting with Ice Resin! As a continuation to my blog post last week I have been at it again and doing some more interesting things with epoxy resin. 

My first attempts didn't cure properly, possibly because I didn't measure the two parts accurately enough or it might have been because I didn't mix the acrylic paint properly before adding it to the resin. Anyway, my second attempts which were the swirly abstract shapes you can see in the bottom right photo below did cure I'm glad to say. They are now leaning up against my work shed window and look really pretty with the light shining through them :D 


So armed with slightly more but still a fairly small amount of knowledge about resin I tried again on Wednesday. I made a few pairs of copper earrings, one with two little copper bowls soldered to the bottom and two more with pierced out shapes, then added some coloured resin.


In my haste to get going with the resin I didn't make sure the copper was clean so ended up with some copper dust in the bright green resin in the bullet shape earrings top left. I also wasn't very keen on my colour choices for the bullet shape earrings.......

I then mixed some more resin for a pendant and used some pretty pinks and oranges {which I did like!} Please excuse the poor photo but the light was going by the time I took it.


I took some more photos in the slightly better {but not much} light yesterday morning after they'd had several hours in the airing cupboard. I discovered a hair in one of the purple rectangles in the bullet earrings but as I don't like these very much anyway I'm not too bothered! They'll need a couple more days to cure properly then I'll oxidize the copper and add earwires to the other two pairs.


I'm not sure whether to sand the two resin "dots" completely flat in these earrings or leave them. Decisions! You can see my camera reflected in them as I took the photo, it's not another hair :D

I've got to say I am more drawn to the abstract squiggly wire designs and would really like to make earrings using this design. Which means creating a matching pair.... 

I flattened and soldered some more copper wire and rounded it to smooth out any kinks then started playing with my graduated pliers.


I soon discovered the smaller lengths of wire weren't long enough to be able to make anything big enough so I ended up with just one pair of fairly well matched earrings in the making....


These now need to be soldered at the points where the wires touch then filed and sanded flat. Then I'll solder a piece of copper tube to the top for the earwire. I'm really keen to get some more earrings made so I spent some time yesterday afternoon making more lengths of flattened wire - longer this time so I can make a few more pairs today.

Then I'll be able to get the resin and acrylic paints out again and start playing!

The results of all this and the finished earrings should hopefully be posted next week.....


Wednesday, 14 May 2014

New Jewellery, Custom Orders & A Cat In A Basket


Meet Tuppence my constant companion who would suction herself to my lap if it was possible. I took this photo in my work shed where, despite deciding the cats were not going to be allowed, she likes to keep me company and it is a bit hard to keep her out when the door is open on a nice day anyway. The baskets were put there until I decide what to do with them {they'll probably be there a while then} but being a cat Tupps had to sit in them. Then she squished herself into a lying position and went to sleep even though it is much too small.......funny girl :D


I didn't post last week as I felt a bit off with really bad back ache that I was convinced was sciatica as the pain ran down my left leg too but after admitting defeat and going to the doctors on Friday he thought it was more of a bad posture thing. He showed me some exercises to do and gave me some Tramadol. I've done the exercises several times and they hurt a lot at the moment. It is much better this week but still painful and a bit twinge-y so I'm trying to remember sit properly with shoulders back and try really hard not to groan too much when I walk down the road to the post box!

I still had orders to make last week despite not feeling that great and I've been busy with more this week. Here's some of them at various stages of finishing...


The enamel studs are finished, the silver and copper rose rings need cleaning up and oxidizing, the copper and pearl earrings need oxidizing and setting and the thing on the left covered in solder will be another copper rose ring to replace the copper ring at the back after the buyer decided to change the size the day after I made it! Luckily the first ring fits my middle finger so guess where that will be going when it's finished. 

I also managed to get some items photographed earlier today...


Another tab set copper pendant with frilly edge and stabilized turquoise cab


Etched silver triangle and square studs - very simple but I think they are quite cool and feel the need to make myself a pair.....


And finally an etched copper hexagon shaped ring made from copper tubing and a hexagon shaped bezel mandrel.

My jewellery class ended last night. I won't be going again next year but I am thinking of trying the ceramics class! I think that would be fun. I enjoyed the jewellery classes and they did help me to become more confident with soldering even though I didn't actually get on with soldering very well when I was there! I learned to bezel and tube set, use a jig saw, make a non-conforming die and cast using cuttlefish bone. Plus other stuff and meet some lovely people. I wonder what the ceramics course will be like.........?

Wednesday, 4 December 2013

Rolling Mill Textures - Leaf Skeletons


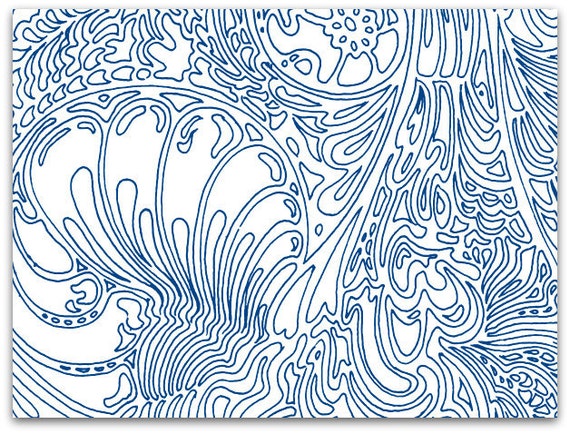
Last time I blogged about the Durston rolling mill I'd just bought. I love it. I haven't had a chance to really have a play with it yet thanks to being busy with orders (which is a good thing!) But I hope to have a good old go on it soon. I received some textured cards today from Rolling Mill Resource, a wonderful shop on Etsy. The cards are specially textured for use with a rolling mill or metal clay and are available in lots of cool designs and sizes. Here's one of the designs I choose.....

G611 Rolling Mill (Paisley Outline) 4"x5" Low Relief Pattern

I was really pleased to see that the shop owner Tracey Perseverance Johnson had included a couple of extra patterns too which was very kind of her. So I'm slowly collecting textures to try with the rolling mill. I have some brass texture plates and some very fine netting (it's probably got a proper name but I'm no seamstress so haven't got a clue!) I also have a couple of embossing folders that you use to add raised texture and patterns to paper and card. They are made of sturdy plastic and if I can cut them so they fit the width of my rollers I'll have a go with those too. I'm also interested to see what twisted wire looks like when flattened. So I think I'm going to enjoy experimenting with my favourite piece of machinery :D

I did try some copper and sterling silver with the leaf skeletons I've had for a while and here's what I made with the results...


A pair of simple studs in oxidized finish. I love these and must make myself a pair! I also made a pair in a bright silver finish too. 


Copper leaf earrings with tube set stabilized turquoise and fine silver balls. I'm still finding tube setting a challenge as I think I'm a bit gung-ho with the grinding of the seat and struggle a bit to get the stone to fit sometimes without a lot of trying the fit and re-doing the grinding bit then making a mess and having to start again! I was the same with cabochon setting at first but I got there in the end. Tube setting is supposed to be "easy" according to some people. One day I will be one of those people  :D


A sterling silver leaf pendant with tube set moonstone. I love moonstone. It goes really well with oxidized silver and this tube setting was easy to do compared to the copper earrings which gave me a false sense of security.....but not for long!

 I will post more on rolling mill textures as soon as I get a chance.

Tuesday, 29 October 2013

A Splash Of Colour And Some Twirly Studs


I've been playing with my enamel colours again and creating my own "blends". It's fun sitting at the table with my different colours and mixing them up to make new ones. Enamels don't really mix to make new colours but you can achieve some really pretty speckly effects. Using the same colour groups work better than mixing colours opposite each other on the colour wheel. I found this out when I mixed some purple and lavender enamels with a bright green hoping I'd get a nice purple/green mix but it just looked grey when it was fired. If you looked closely you could see the individual colours but the overall effect was dull but luckily the beauty of enamelling is you can fix it with another layer (within reason!) What I have learned with mixing colours is if it looks dull in the pot it will still look dull when it's fired........... :D
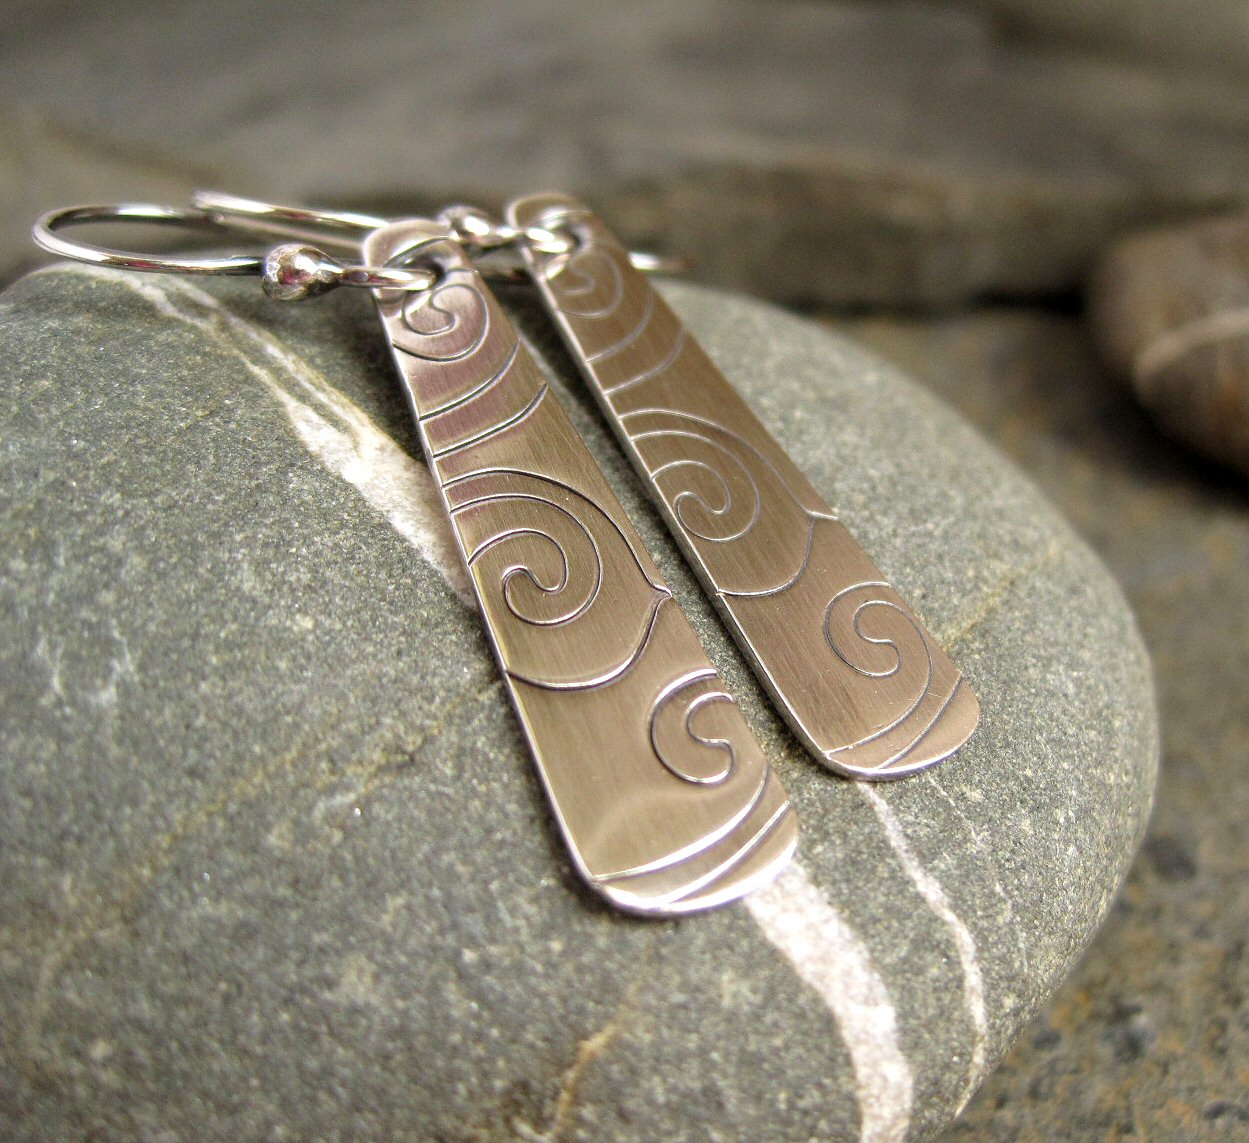
The hoops above are enamelled in a mix of different greens with some transparent turquoise layered on top on the bottom section.


These were originally a really dull orangey-grey (one of my not so great mixes) so I revived them with some more opaque and transparent oranges and a sprinkling of cream and lighter orange on top. They make me think of marmalade.


This pair were victims of the purple/lavender/green horror mix so I brightened them up with more green opaques and a budgerigar green transparent. I love the effect sprinkling opaque enamel on top of transparent gives you, it reminds me of lichen.

I finished off a few simple stud earrings in copper and silver this week too. I used thin strips of metal and coiled them with round nose pliers like you would make a spiral to form cute twirls. I soldered the ends then after sanding one side flat I soldered them to a base, tidied them up then added posts and oxidized them.


The copper pair remind me of chelsea buns!

Wednesday, 5 June 2013

More Bezel Setting Practice And Hollow Form Earrings


I wanted to do a bit more bezel setting to improve how long it takes me to do. I am getting quicker at it, really! I sometimes "waste" time cleaning/ filing/sanding bezels up then change my mind about what I'm going to do with them and realize I will have to sand them again after another lot of soldering. Oh well :D

I thought I'd try decorating one of the bezels by stamping. I wasn't sure if it would work as the bezel wire is pretty thin at 0.3mm so I stamped fairly lightly. I didn't want to risk stamping too heavily and the bezel splitting and I also left a gap where the join was going to be. I think it worked ok with these simple turquoise cabochon earrings.


I stamped in the gap I'd left after soldering but not directly over the solder join. I think the stamped effect looks "right" with the turquoise.

I'm currently practicing making hollow form pendants in copper and will move onto silver in the next couple of days. I love the 3D look of hollow form pieces - they look so solid but are lovely and light.
I made a pair of simple hollow form earrings in copper recently before I started on the pendants. Simple as in a domed disc soldered to a flat base which is then trimmed and finished.


The pendants I'm making consist of a frame plus a smaller frame in the centre which are soldered to a flat sheet on both sides. The middle of the smaller frame is pierced out after the first side is soldered and the edges are trimmed at the end. They are a bit tricky to solder to make sure the solder join is complete all the way round on both sides and around the smaller frame in the middle but I'm getting better and will post about them as soon as I've made a couple in silver.


I soon discovered when I made these earrings that it's important to make sure you rinse all of the pickle out of them. You need the hole to prevent the piece from exploding when you solder the earwire (or anything further) onto them but that also means they get full of any liquid you put them into! I find leaving them to soak in clean water and bicarb for 15 minutes after I take them out of the pickle does the trick.
I've also started using hard sterling wire for the earwires instead of dead soft and find it is a bit sturdier for this type of earwire despite being annealed when it's soldered and it worked out slightly cheaper than the dead soft which is always a good thing!!

Friday, 15 March 2013

Bead Magazine Project - Copper Wirework and Ceramic Flower Earrings!


Look out for issue 45 of Bead magazine which was out on 13 March. Bead has a new look this issue and is full of Spring inspiration! There's quite a lot of floral action going on including a step-by-step project for my copper wirework earrings with ceramic flower beads.
 I love those beads!


 Seeing the photos has reminded me to dig out the rest of those ceramic flower beads and do something else with them. I bought a mix of colours including lilac, pink and yellow. I'd like to thread them onto copper or silver hoops then solder the hoops closed. I "think" the ceramic beads will stand up to the heat of the torch ok. Some strategically placed pliers would act as a heat sink and easy solder would make it a quick in and out job so I may well have a go soon.

Here's the colourful front cover of Bead magazine - it's so bright you can't help but be cheered up by it :D


Saturday, 15 December 2012

That Christmas Feeling - Spice Biscuits!


I am slowly getting into the Christmas spirit this year. Watching Nigel Slater on the TV last night, who has to be my favourite TV chef for his calmness and sheer gorgeousness of what he cooks, I suddenly knew I had to make some Christmas spice biscuits!

So I trundled off to Sainsbury's this morning which wasn't half as busy as I thought it would be (just wait for next weekend!) to buy the ingredients and cookie cutters I needed. I had to make do with hearts as the snowflake cutters were all gone.
I used Nigel Slater's recipe (see below) and ended up with three baking sheets of biscuits in different heart sizes.
 I decorated them with cinnamon icing in a ....let's call it "abstract" fashion with artistic industrial size blobs for added interest....... more is definitely more where I come from :D


They taste delicious (I've eaten three so far) and make your house smell beautiful!

The Recipe

70g butter
80g light muscovado sugar
2 tbsp treacle
250g plain flour
1/2 tsp baking powder
2 tsp cinnamon
1 tsp ginger (I put in two)
1 egg yolk
3 - 4 tsp milk

1. Cream butter and sugar
2. Beat in treacle and egg yolk
3. Add flour, spices and baking powder which have been sifted and mixed thoroughly beforehand
4. Add milk until dough resembles pastry and knead gently
5. Roll out thinly, cut out shapes and spread out on baking sheets
6. Cook at Gas Mark 4/350F/180C for approx 12 - 14 mins
7. Cool and decorate with water icing

Sunday, 25 November 2012

10% Off In My Etsy Shop? Yes Please!

I've decided to have a 10% off event in my Etsy shop
until 31 December. That's 10% off everything including my handmade findings!
Just use the code "CINNAMON" to qualify.


I felt the need to stamp circles on metal last week. I have a thing about circles which apparently goes back to my childhood. Way back when I was three and we lived in Toronto my Mum's friend Judy always knew which child had scribbled on her apartment wall in crayon { circles : me, other things : her son }
I still love circles today and they do feature in my jewellery quite a lot in one form or another :D


Not circles but leaf vein texture using skeleton leaves and the rolling mill at college on a piece of "practise" copper sheet which found it's way home with me and turned into a pair of earrings :D

Wednesday, 19 September 2012

Silver Jewellery Course and New Earrings

Next Tuesday night (25th Sept) I will be starting a 25 week silver jewellery class! I found out about it last year a couple of months too late but this year miraculously remembered about it in time and enrolled a few weeks ago. It was quite expensive but covers all those lovely techniques I either can't teach myself/am too scared to try myself or just really need an expert to show how to do it properly.
I know it definitely covers etching (yay!), soldering, stone setting, enamelling and ring making. Some of it I will know how to do but a lot I won't so I'm really looking forward to getting started. Slightly nervous too but once I've got over the "which building is it/who are all these strange people/where's the toilet" stage I know I'll be fine :D 

Finally got round to photographing a few pairs of earrings today - I was in one of those let's get organised and do the things that actually need doing and not spend all day experimenting with new design ideas moods, and the weather was perfect too.

The pair above are handcut flowers enamelled and wire wrapped to copper washers. I'm going to try the same idea with some soldered copper hoops (when I make them) for a more delicate version ......soon.......... :D


These are two copper discs rolled through my Bigshot with a Vintaj design (deco etch) folder then domed and pinned with sterling wire.


Sheet copper stamped with my favourite circle design then the earrings cut out and finished. I painted turquoise patina ink over the top and sanded back to reveal the design then oxidized and tumbled for just 15 minutes to it didn't take too much of the black off. Dark and a bit different.


Thursday, 13 September 2012

New Copper And Silver Earrings

I've been playing with my Bigshot and the Vintaj design folders again. I've decided to rechristen them "design" folders rather than etch folders as the end result looks nothing like an etched piece of metal!
I used 20g copper sheet annealed first to soften it then rolled through the Bigshot. It goes through fine but my cutting pads are suffering a bit and now are both bowed in the centre. Completely useless if I want to use my envelope dies so I guess I'll have to buy some replacement pads soon......


I made a simple pair in sterling silver too. I cut the shape using Xuron metal shears - very impressed with those and they save having to get my saw out and the ridiculous small plastic stool I have to sit on for piercing as the table is too low to use a normal chair!


I also did a bit of simple soldering and made these bead and hoop style silver earrings. Can you tell how much I love these czech glass rondelle beads?!


Wednesday, 25 July 2012

New Embossed Metal Earrings


 I posted recently about practising using my Bigshot to emboss metal and now I have some finished earrings to show!
The copper "pansy" earrings above started life as copper discs that I used a Vintaj Deco Etch folder on to create the pretty flower and petal effect. The end result with the etch folders gives a more stamped look than etched to be honest but I do like it and have bought a couple more of the etch folders since.
The petals were created using a file then the flowers were sanded and domed and the bead and earwires added. I could've used my saw to cut out the petal shapes but decided to sit in the sun and file industriously for 15 minutes instead!


Purple lampwork earrings with the same flower design


Serpentine beads with copper teardrop earrings


Embossed Copper Disc earrings


That flower design again this time in stud form!

                          
                        Embossed copper discs with czech glass beads

All soon to be listed in my Folksy and Etsy shops